


Does using a pumpkin carving template intimidate you?
Do you find the instructions on the package confusing or misleading?
Have you tried and given up on using them?
Fear no more!

I'm going to show you step-by-step
how to properly use pumpkin carving templates.

What You Need
Pumpkin
Tape
Bowl
Template
Scissors
Pumpkin Carving Tool Box
Here's What You Do
 First, you want to make sure the surface of the pumpkin is smooth.
This makes it easier to complete the design.
Lay down a garbage bag to protect your surface.

 Remove the lid.
 Use a scooper with teeth to remove the junk on the lid.
Some people like to cut it off with a knife. I like to scrape it off.

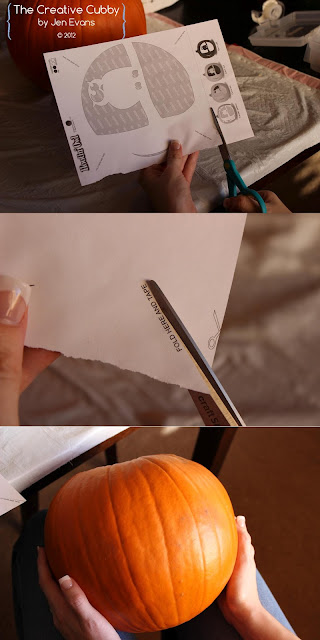 Prep Your Template.
When it says "Fold Here" - I don't fold, I cut.
Much more effective.
 Apply Template to Pumpkin.
I like to use a sponge to moisten the paper
so it will mold around the face of the pumpkin.
Remember, to dab the sponge, not wipe.
If you print the template off your home computer,
wiping with the sponge will smear your ink.
Tape the template flush on the pumpkin.
 Begin poking holes as indicated.
I place my holes about 1/4" apart.
 Oops!
Oops!
I made a hot mess of my template and it doesn't line up!
That's okay!!!
Create a straight a line right over the paper.
Don't stress. It happens.
 Poke holes around your entire template.
Then lift the paper right off the pumpkin, don't tear it.
You'll want to save the template....

 As you can see...
You might go cross-eyes looking at the dots.
 Time to Carve.
Always carve the smallest pieces first!
Always work from the center to the outside!
This will ensure you don't upset the stability of your design
while trying to do difficult pieces.
 Next...
Break down bigger pieces.
To do this, we're going to connect two dots to make a large piece smaller.
 Using care, carve out large pieces.
**NEVER STICK YOUR HAND INSIDE THE PUMPKIN!**
It may be tempting to stick your hand inside to support your design.
Until you are very skilled at carving, do not put your hand in the line of fire.
Blood is creepy for Halloween...
but it shouldn't be your own.
 Clean up is a snap with the garbage bags.
And you're done!!!


This makes it easier to complete the design.
Lay down a garbage bag to protect your surface.

Here's my template! Isn't it cute?!


Some people like to cut it off with a knife. I like to scrape it off.

**My Favorite Pumpkin Tip of All Time**
Instead of scooping the guts to the top
{which takes foooooreeeeeeveeeeeeer}
flip the scooper around and push the guts to the bottom of the pumpkin.
This will create a giant gut pile and you can just scoop it out.
See. All clean.
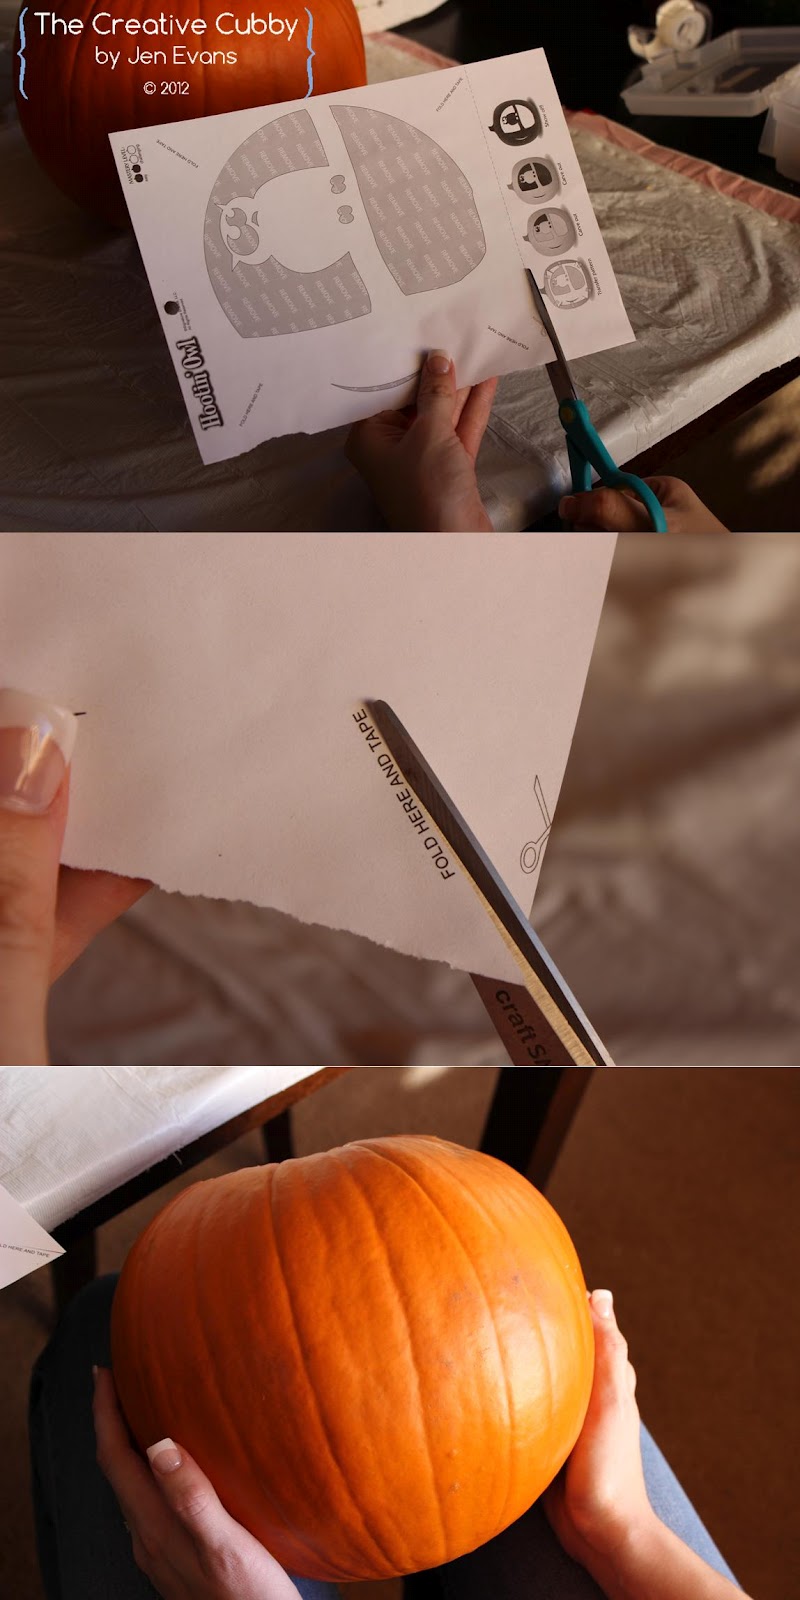
When it says "Fold Here" - I don't fold, I cut.
Much more effective.

I like to use a sponge to moisten the paper
so it will mold around the face of the pumpkin.
Remember, to dab the sponge, not wipe.
If you print the template off your home computer,
wiping with the sponge will smear your ink.
Tape the template flush on the pumpkin.

I place my holes about 1/4" apart.

I made a hot mess of my template and it doesn't line up!
That's okay!!!
Create a straight a line right over the paper.
Don't stress. It happens.

Then lift the paper right off the pumpkin, don't tear it.
You'll want to save the template....

...for reference...

You might go cross-eyes looking at the dots.

Always carve the smallest pieces first!
Always work from the center to the outside!
This will ensure you don't upset the stability of your design
while trying to do difficult pieces.

Break down bigger pieces.
To do this, we're going to connect two dots to make a large piece smaller.

**NEVER STICK YOUR HAND INSIDE THE PUMPKIN!**
It may be tempting to stick your hand inside to support your design.
Until you are very skilled at carving, do not put your hand in the line of fire.
Blood is creepy for Halloween...
but it shouldn't be your own.

And you're done!!!


 ,
,

Very helpful tutorial. I am so amazed how these skilled carvers created those spooky and very detailed pumpkin carvings. I wish I could carve that as well. Cheers!
ReplyDelete- Cristine
Pumpkin Carving Ideas
Wonderful and inspiring. I bought a pumpkin last week and your tutorial will be very helpful. Thanks for sharing your skills !
ReplyDelete