Showing posts with label Halloween. Show all posts
Showing posts with label Halloween. Show all posts
Thursday, October 29, 2015
Pumpkin Carving 2016
Another year, another super fun pumpkin carving. My work is having an office decorating contest and I was inspired by my department's theme. SUPER MARIO BROTHERS!
Bowser has always been one of my favorite video game villains, so it was only fitting that I put his face on a pumpkin for the occasion. See how it went below!
Pattern printed from Zombie Pumpkins.
Need some pumpkin carving tips and tricks? My Pumpkin Carving Tutorials are here to help you out!
Interested in seeing other pumpkins I've carved? There's a gallery for that.
Labels:
Halloween,
Holiday,
Pumpkin Carving
Tuesday, October 27, 2015
Rise of the Jack-O-Lanterns
If you've ever visited my blog during the fall, you know I love... love love love... love pumpkin carving. I have watched and rewatched Pumpkin Wars and Halloween Wars on Food Network. I keep a gallery of my annual pumpkin carvings up all year round. In my first year of blogging, I even did a Pumpkin Carving Week. It's an obsession and I'm okay with that. So when an advertisement for Rise of the Jack-O-Lanterns at San Diego Zoo Safari Park popped up on Facebook, I didn't think twice about buying tickets. They advertise that there are over 5,000 carved pumpkins. FIVE THOUSAND. I just had to see what magical creations they had.
I was not disappointed. Much to my surprise, there were not just Jack-O-Lanterns. There were full carved pumpkin sculptures. I was in awe of these fantastic creations. And before you jump into the pictures to be amazed, let me answer the number one question that was on everyone's minds...
Rise of the Jack-O-Lanterns runs for the full month of October. How do they keep the pumpkins from rotting?
My group came up with a number of theories from preservatives and coating them in wax. We were wrong. They don't do anything to keep the pumpkins perfect all month long. As their website states, "Each week [they] have to replace deceased jack o'lanterns with fresh ones. That's a lot of recarving!"
Yes, it is! Especially when you take in these awesome creations...
So much inspiration! I can't wait to get my hands on more pumpkins!
Labels:
Halloween,
Holiday,
Pumpkin Carving
Saturday, October 24, 2015
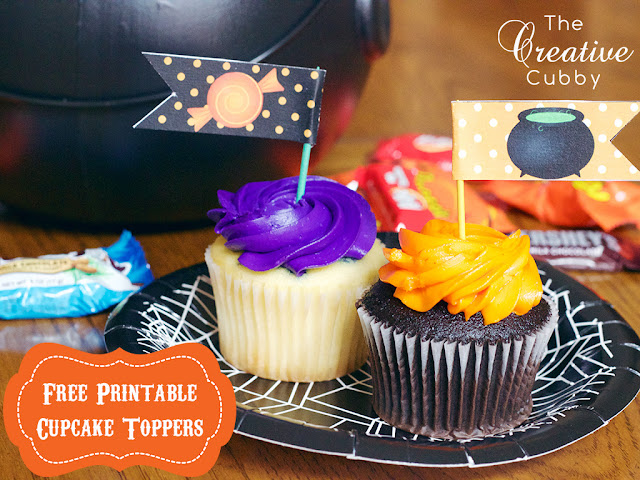
Free Printable Halloween Cupcake Toppers
No tricks and all treats here! If you're putting together last minute festive cupcakes for a classroom, workplace or party, adorn them with these easy to create cupcake toppers. The printable flags are available for download at the bottom of the post.
1. Download and print cupcake toppers. Carefully cut out flags.
2. Fold flags in half.
3. Place a small piece of double-sided tape on one side of the non-printed side of the flag.
4. Place tooth pick in the crease of the flag and fold over. Apply gentle pressure to secure sides to each other.
Stick in the cupcake and enjoy!
BONUS!
Do you have a need for placecards? Print them below.
Labels:
Halloween,
Holiday,
Printables
Friday, October 23, 2015
Trick or Treat No Carve Pumpkin
Sometimes, you find yourself in a time and you want a small touch that says, "I'm crafty and make cute stuff."... not "I totally forgot about this holiday and bought whatever wasn't completely picked over at Target."
If you have five minutes, a pumpkin and puffy paint, you're all set!
X's and dots are my favorite!
Voila! Easier than taking candy from a person handing out candy on Halloween!
Wednesday, October 21, 2015
No Carve Pumpkin with Cross Stitched Burlap
My love of cross stitching has met its soulmate - burlap. This was my first project cross stitching on burlap and I guarantee you it will not be my last. With a few simple touches, this no-carve pumpkin is the perfect classy Halloween touch.
You will also need...
Scissors
Black Embroidery Floss
Embroidery Needle
Hot Glue Gun
Hot Glue Stick
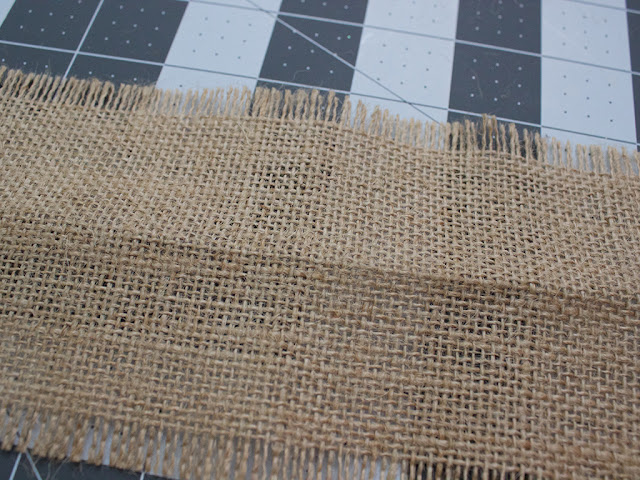
1. Unravel the burlap ribbon and wrap around the middle of the pumpkin to measure length. Then, snip snip!
2. Time to cross stitch your ribbon. Fold the ribbon in half hamburger-style, then hot dog-style {for those who didn't have a colorful elementary art teacher, that means by length and width} to mark your center starting place. Then stitch away!
Note... I knew ahead of time that I was adding the clip-on bow and where, so I stitched my words slightly off center.
I used this font to guide my stitching. Also, use the full 6 strands or 3 strands of embroidery floss for stitching on burlap. 6 strands will make the letters pop off the burlap. 3 strands will sit flat.
Don't want to cross stitch? You can also use ink and stamps, stickers, or markers to write on your burlap.
3. Clip on the bow. I love this bow - it's too cute!
4. Use hot glue to adhere the burlap to the pumpkin. Remember to watch those fingers! You want to keep your fingerprints - I promise you.
Let dry and ta-da! A festive addition to your Halloween decorations.


 ,
,
