Showing posts with label Fall. Show all posts

Wednesday, October 21, 2015

No Carve Pumpkin with Cross Stitched Burlap


My love of cross stitching has met its soulmate - burlap.  This was my first project cross stitching on burlap and I guarantee you it will not be my last.  With a few simple touches, this no-carve pumpkin is the perfect classy Halloween touch.


You will also need...
Scissors
Black Embroidery Floss
Embroidery Needle
Hot Glue Gun
Hot Glue Stick


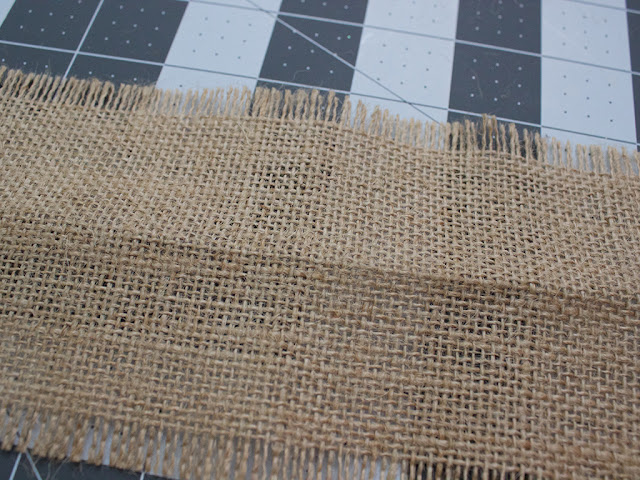
1.  Unravel the burlap ribbon and wrap around the middle of the pumpkin to measure length.  Then, snip snip!


2.  Time to cross stitch your ribbon.  Fold the ribbon in half hamburger-style, then hot dog-style {for those who didn't have a colorful elementary art teacher, that means by length and width} to mark your center starting place.  Then stitch away!

Note... I knew ahead of time that I was adding the clip-on bow and where, so I stitched my words slightly off center.

I used this font to guide my stitching.  Also, use the full 6 strands or 3 strands of embroidery floss for stitching on burlap.  6 strands will make the letters pop off the burlap.  3 strands will sit flat.

Don't want to cross stitch?  You can also use ink and stamps, stickers, or markers to write on your burlap.

3.  Clip on the bow.  I love this bow - it's too cute!


4.  Use hot glue to adhere the burlap to the pumpkin.  Remember to watch those fingers!  You want to keep your fingerprints - I promise you.


Let dry and ta-da!  A festive addition to your Halloween decorations.


Wednesday, November 13, 2013

Fall Felt Leaves Tutorial


Sometimes you just want to decorate with a splash of leaves for fall.  I came across quite a few scrap pieces of felt and thought, "Hmmm, I could do something with this."  I've always loved the look of embroidered felt and decided it was time to try.

Materials
Felt
Embroidery Floss
Scissors
Hot Glue
One Sheet of Cardstock and a Pencil


1.  Create a template.  I found a drawing through GoogleImages and sketched it out on a piece of cardstock.  It makes the perfect template.
2.  Use your template to cut out your top level leaves.
3.  Match up with your secondary colors.  Looks great!  **DO NOT ATTACH YET**
4.  Stitch  your leaf veins on to your top leaf.  Do not stitch through to the base felt.
5.  Glue the top leaf onto the base felt.
6.  Cut out around the leaf leaving about 1/4" around the edges.
I love the way these turned out.  I've used them to adorn a table top and the top of my mantle.  Quick, easy and durable.

Happy Fall!!!

Monday, November 26, 2012

Thanksgiving Hangover


This year, my husband and I decided to spend Thanksgiving at home - just the two of us.  We figured we may never be able to do this again so why not have a meal to celebrate being thankful for each other.  The other thing is... I never get to host Thanksgiving and I really love to cook.  You can imagine how excited I was to plan and prepare my own dinner.  Thankfully, my husband is a good helper and we made the most fantastic meal together.

The first order of business is to get organized.  I'm notorious of taping my recipes to my cupboards.  Keeps them out of the way of spills and at eye level for me.  

Our menu for this Thanksgiving can be found in these links.

As always, the first food to tackle was the bird.
Our bird's name was Timmy.  He was a big boy.  About 20 lbs.  We really really like leftover turkey.  Plus cooked poultry is good for two weeks... so 20 lbs goes a LONG way.
Preparing the lemon and rosemary basting sauce made our house smell so nice!  We used a little extra olive oil to ensure the bird would be juicy.  Worked like magic.  The skin tasted wonderful and it was so crispy!
Here's how we cooked it.

  • Set oven to 400* F.  Let turkey roast for 45 min to an hour until brown.
  • Reduce heat to 350*F.  Baste with olive oil mixture.  Add one cup of water to bottom of pan.
  • Baste with from the bottom of the pan every 30 minutes.  Be sure to cover the entire turkey.  
  • Follow the instructions that come with your turkey regarding the length of time needed to cook.  Ours came with the little red plug, so I waited for that to pop out.
  • Once red plug pops out, or you have reached your cooking time, baste turkey one last time with olive oil mixture, add fresh lemon slices and rosemary to the pan and roast for 20 more minutes.
  • Remove from oven, tent aluminum foil and let sit for 30 minutes.

We made 18 hard-boiled eggs for Deviled Eggs.  Don't worry, we didn't eat all 36 deviled eggs ourselves!  My Deviled Eggs are made with mayo, relish, salt, and pepper - all to taste.  Start with a little of each ingredient and keep adding little portions until the taste balances out to how you like it.  Top with paprika.
 My husband and I love Brussels Sprouts.  These were so amazing that we saved the recipe to make as a regular dinner side.
Now, to be honest, we weren't crazy about the tarragon green beans.  We love cooking with tarragon but it was a bit much in this dish.  However, I suggest cutting the suggested tarragon in half or eliminating it completely.  The white wine and the green bean pairing was outstanding!
 Every dinner needs bread.
 My wonderful husband carving his first turkey.  The turkey didn't need much carving though... the meat fell right off the bone.  That's what I'm talking about!!!  So delicious.

I hope you had a fabulous Thanksgiving!  Onward to Christmas!!!


Tuesday, November 20, 2012

Printable Thanksgiving Place Cards


Are you setting a table for Thanksgiving?
Do you want to impress your family and guests with awesome place cards?
Have you completely run out of time?

Check out these great printables to get your table ready
in a jiffy for your guests.


Monday, November 19, 2012

Monday with Martha: Place Cards

Speckled Leaf Place Cards

I love place cards - even if it's just two people.
Place cards give a wonderful sense of occasion to any gathering.

Here are some of my favorite place card ideas from Martha Stewart.

Rustic Place Card

Turkey Trivia Place Card

Pom-Pom Tom Place Card

Nutshell Place Card

Chocolate Bar Place Card

For more place card ideas, check out the
 
Blogging tips