I've been envying this sign online for years. Growing up on Arizona and California, I could not think of a more true statement than life is better in flip flops. Thankfully, this was a quick and easy afternoon project that took minimal effort.
I used my Cricut for the letters.
Don't have a Cricut? No problem! I'll give you a tip on how to get around that!
Materials
Wood Planks
Staple Gun
Paint Brushes - Large for coating and Small for touch-ups
Paint - 2 shades
Cricut Materials
OR Letter Stickers
Sandpaper - 60 or less grit {
optional}
Xacto Knife
Hanging Hooks
Let's get started!
1. Assemble your planks. I got my planks at Home Depot in the precut bin {
typically in the molding aisle}. These were 2.5' long x 5.5" wide, plus two thin backing pieces. Most precut pieces do not need to be sanded, but if yours do, sand with sandpaper 80+ grit.
2. Lay out your design and staple. Be sure to check that all edges are straight. If it makes you nervous to staple without support, masking or painters tape provides great stability while stapling. Just run one piece the length of your design.
Staple through the backing pieces to the front side. If you miss fire or have a not-so-pretty staple, don't worry! Either pull out the staple or restaple. You'll see in the picture below, some areas took a few shots for me. Also, if your staple doesn't go all the way in, use a hammer to gently knock it into place.
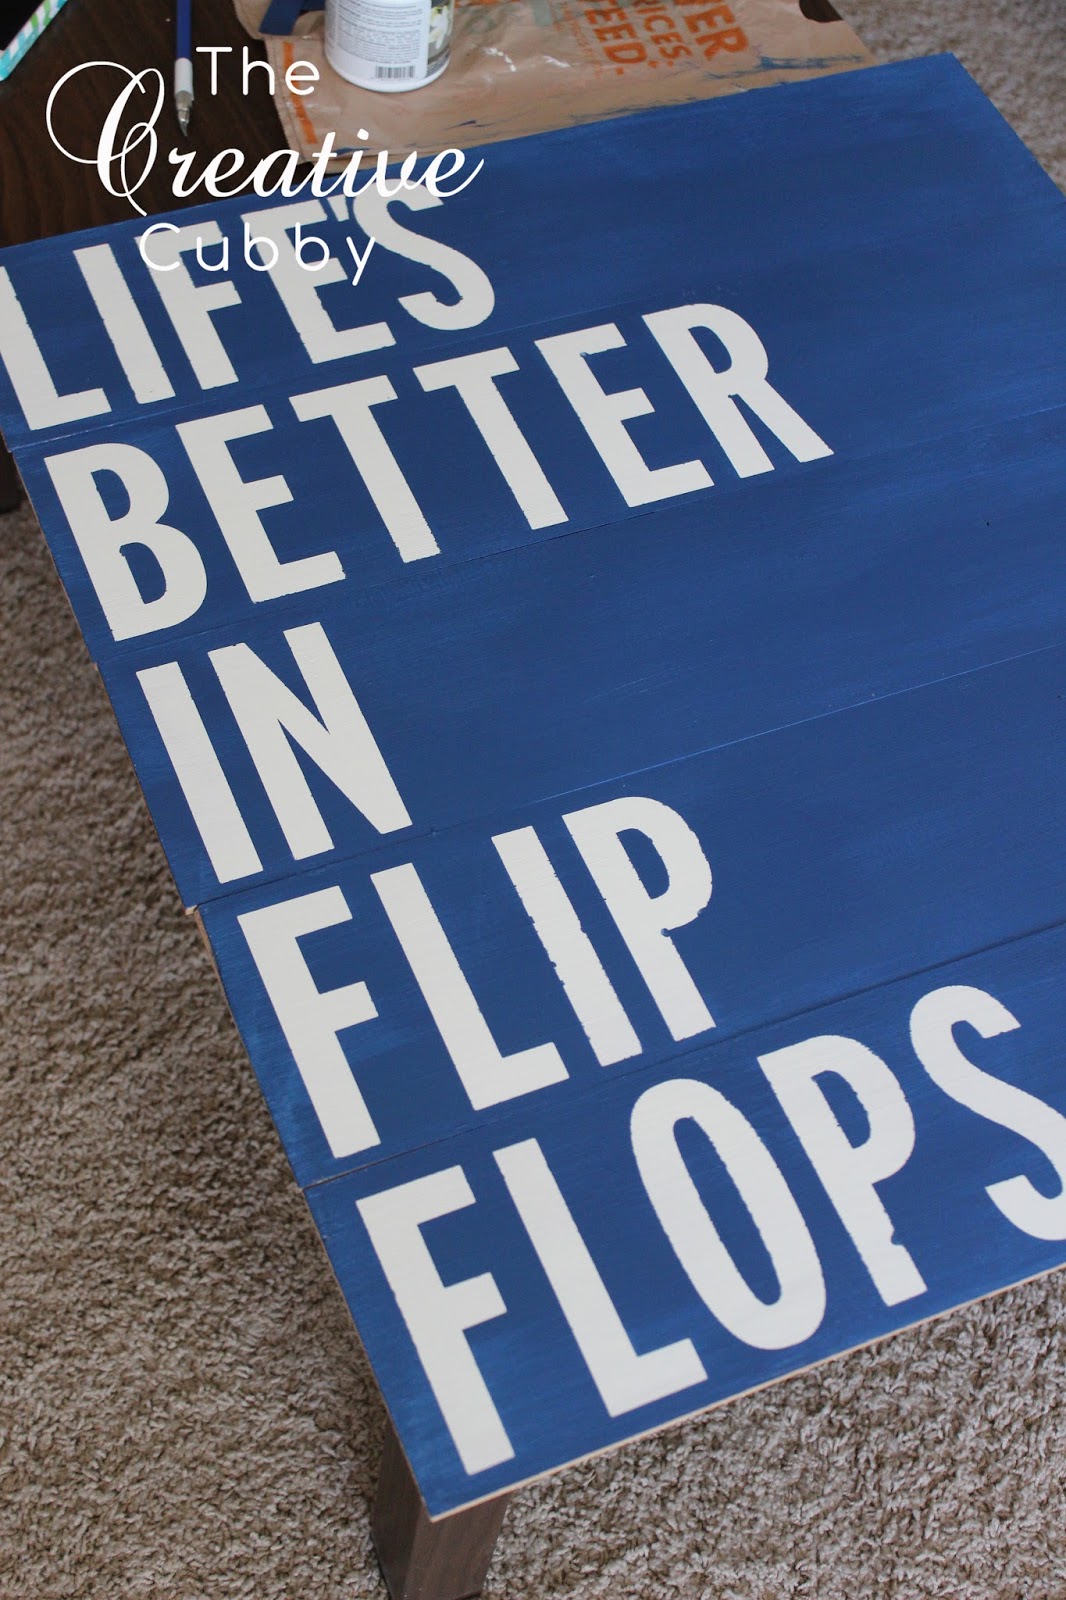
3. Now that we have one big sign, it's time to paint! I chose to do white lettering with a blue foreground. That being said, I'm painting the entire background the lighter color.
4. While the base paint is drying, let's prep our letters. You can do this one of two ways. You can either use vinyl with a Cricut machine to cut out your letters. I used
Street Sign font and cut them at 4.75.
OR
You can pay a visit to a hardware store to get large sticker letters. Most stores carry them for street signs or registration letters/numbers on personal recreation vehicles. I've seen large letters at Michaels occasionally as well.
You don't have to have a Cricut to complete this project!
5. Apply your letters to the sign. Take the extra time to ensure they are straight and positioned to your liking.
6. Apply that top coat. Remember, thin, even coats will do the trick. Apply a second coat if you see fit. I wanted a more distressed look, so I only did one.
7. Remove your letters. I needed the assistance of an Xacto knife for this part. You may not if you have some good nails. Do what feels right to you!
8. Time for touch-ups! As you can see, I had some paint seep through, and that's okay! Using a small paint brush, I did touch-ups with my base paint.
B-E-A-UUUTIFUL!
9. Optional: Time to distress. Rub the sign with 60 or less grit sandpaper until scuffed up to your liking.
10. Add hanging hooks. Feel free to use the hooks of your choosing and follow the directions on the package. Your sign shouldn't be too heavy so don't go overboard.
Hang and relax!


 ,
,

No Comments Yet, Leave Yours!