


To finish out our cabinet makeover, we decided some hardware was necessary. So few houses in Arizona have hardware on the cabinets and we though it was time to break away from the mold. Here is a step-by-step tutorial on how to add hardware to any cabinet.

Before... so plain and boring.
MaterialsRuler
Pencil
Hardware
Cardstock Paper
Screwdriver
Electric Drill
Eye Wear

1. Measure twice... even three times... before you drill. Better safe than sorry.
2. Check the width of the door or drawer you will be drilling into. Our hardware set came with long and short screws - not all sets will.
3. If you take the time to do the measurements right, you can't go wrong!
4. If you complete this project, you'll only have to do it once. If you ever want to change the hardware down the road, you won't have to drill new holes. Yay!
5. Sorry for the dim pictures. We did this at 11:30pm. Like crazy people. I don't recommend that part.
For a Door
1. Line up the top of cardstock paper with top of ledge. Make mark on page at bottom of ledge.

Without turning page, line up cardstock on side of ledge. Mark page on inside edge.

2. Draw a line straight down page from marks.


3. Draw diagonal lines connecting opposite corners to create an "X" in your corner.


4. Using drill bit, make hole at the center of "X".


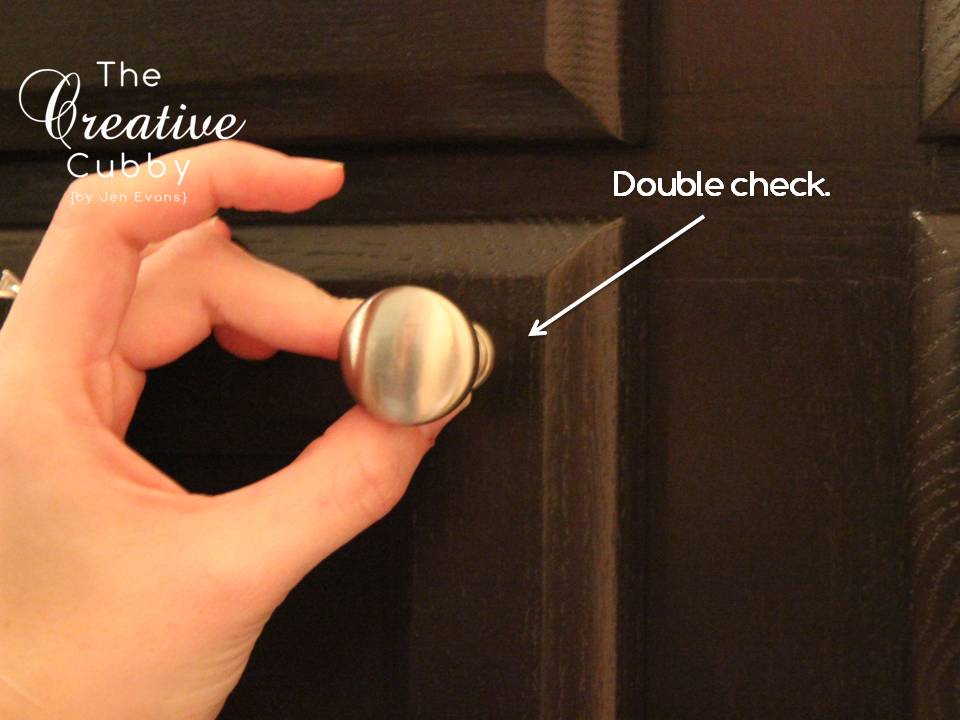
5. Line up edges to door and mark hole with pencil.

6. Hold up pull to door. Does it look center? Or does it look off?
7. Prop open door and hold drill straight. NEVER drill into doors or drawers that are closed - you may unintentionally cause damage to the rest of the cabinet.


8. Push screw through hole. If the hole is a little tight, use an electric drill to help feed screw through.

9. Add pull and tighten the screw.

10. Marvel at your awesomeness.

For a Drawer
1. Time to take some measurements. A diagram is ALWAYS helpful.
Measure the width from ledge to ledge. Measure the height from ledge to ledge. Find the midpoint of the drawer front.

Measure the width of the handle from hole to hole. Mine were 3 inches apart.

2. Mark the midpoint of the drawer then mark the drill spots.
How?
Split the width of the handle in half and measure out in each direction.
For example, my handle was 3 inches wide, therefore, from the midpoint mark, I needed to measure out and mark 1.5 inches.


3. Remove drawer from cabinet. Hold drawer and drill straight. Go to town.

4. Push screw through hole and attach handles.

Do you have a deep drawer like I do? Use the same measurements as you did for every other one. It's that easy. Don't over-complicate this.
Look at how fabulous this ends up!


 ,
,

No Comments Yet, Leave Yours!