


Who doesn't love a little preppy decor?
This tie pillow is a lovely way to add a little Ivy League to any room.
Materials
14 inch pillow form
12 Ties (I got mine from Goodwill at 50% off)
Sewing Machine
Pins
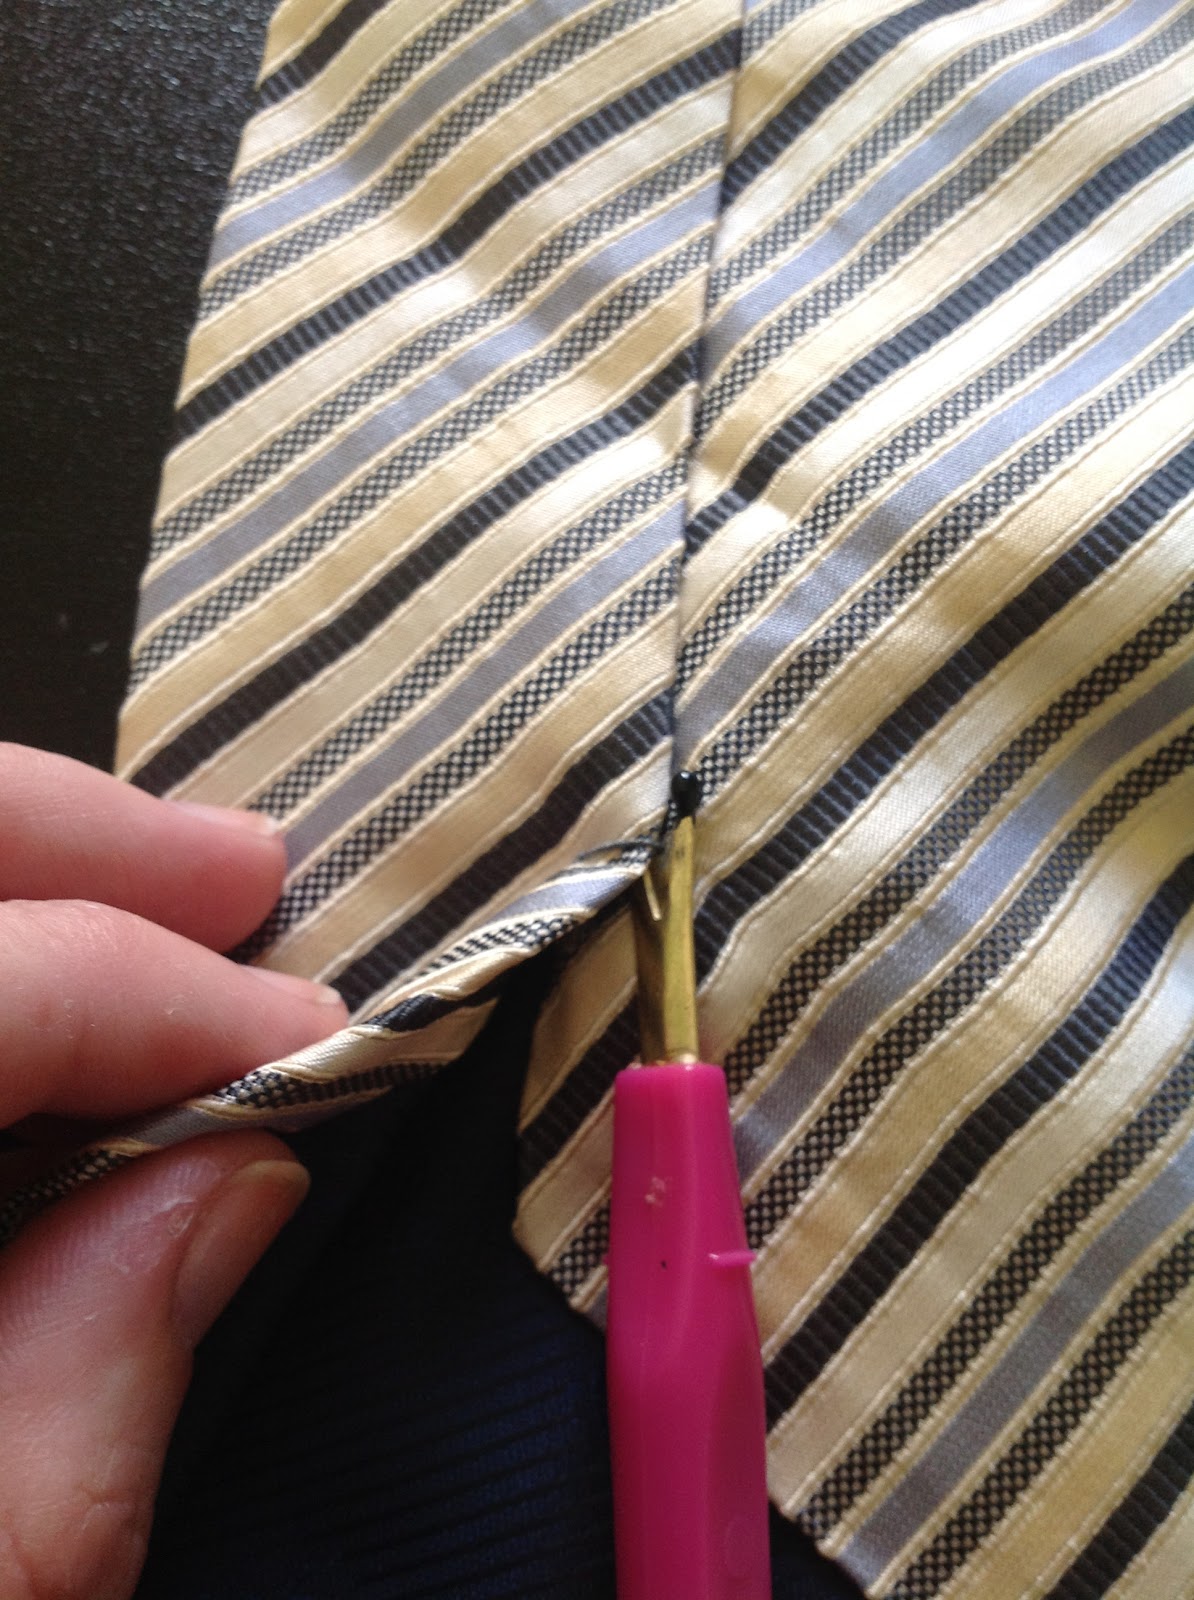
Seam Ripper
Scissors
Instructions
1. Gather your ties and create your pattern.

2. Make sure your ties will create enough fabric for you to work with. For a 14 inch pillow, you will need at least 30 inches in length.

3. Cut ties to width. You will need to ensure your fabric is wide enough to cover your pillow. I allowed for 18 inches.


Start your measurement at the usable part of the tie.

**Keep the Tails. You will want them for another Preppy Project!**


5. Create your fabric. Ensure you have some overlap on both ends of the ties to prevent gaps when you sew and pin together. If I had a rotary cutter, I would have trimmed some of the fabric off the flaps of the ties to reduce the amount of excess fabric to work around. However, I don't have one and that would have taken much too long with scissors. So I powered through...


6. Stitch together. Admittedly, this is where I need a little practice, but I did my best. However, I've sewn enough to pass along this piece of advice... Don't forget to reverse stitch! This locks in your stitches. You should do this at the start and end of every seam in this tutorial.

7. Iron the sewn together ties so your fabric is flat.


8. To make the sewing easier on myself, I designed this so I would only have to sew three sides. To do this, fold the tie fabric in half with all under sides sticking out. If you've never done a sewing project before, this means... envision you have sewn it and you need to turn it inside out - your "good" sides should be sandwiched inside. Pin up the sides to ensure fabric stays together. Make sure you are pinning so you have enough fabric to cover the pillow. Give yourself an inch to two inches more than you "need". Inevitably, you will magically lose fabric so this extra allowance is your best friend.


9. For your fourth side (which should be wide open right now), stitch your corners. Essentially you will stitch a "straight line" with a gap in the middle to stuff your pillow into. I highly recommend doing the stitching on the corners, rather than handstitching the entire top, so you will have pretty corners. I left a 7 inch gap in the middle of the two corner stitches to stuff my pillow through.


10. Turn pillow right side out. I used a wood skewer to pop out my corners to their fullest. Stuff pillow into casing you have just made.


11. Pin together open top and stitch together by hand.

And you're finished!!!
Remember to check back the rest of the week for FOUR MORE Preppy Projects!
*As Seen On*
Refashion Files
Crafty Cousins
Decorador Net
*As Seen On*
Refashion Files
Crafty Cousins
Decorador Net


 ,
,


Dear Jen, yours is THE exact pillow I want to make from my husbands old ties. Thank you very much for making the video .
ReplyDeleteglassy~