Sunday, September 27, 2015

How to Use a Vision Board to Create a Color Palette


A large part of getting my groove back is to create a blog that I'm really proud of.  Not that I'm not proud of what I have now, but it's time to take The Creative Cubby to the next level in a way that represents who I am as a crafter, a blogger and a person.

What stuck out the most to me was the vibe of my blog - specifically, the color palette.  It was a little too... gentle.  Exhibit A.
Pastel, soft, and while beautiful, not very me.  I needed a color palette change - bad.

So, like any sane person, I started with Pinterest.  I created a private board title "Creative Cubby Vision Board" and started pinning whatever visually spoke to me.

I swept the DIY & Crafts, Photography, Travel, Architecture, Design and Photography categories, pinning anything and everything that caught my eye.  I would add pin after pin, review my board, delete a few that no longer spoke to me as loudly as others and return to pinning.  I repeated the cycle countless times.

A theme was clearly developing so I searched by related key words: surf, ocean, Hawaii, teal.  This led to even more images that caught my eye and I pinned away!

Let me tell you, this was incredibly fun!  Watching my taste and style come together visually was amazing.

Also, I realized how useful this would be in discovering your home decor or fashion style too!  Coincidentally, this board reflects my home decor, so...at least I know I'm consistent.

Finally, I felt like I had a carefully curated vision board with about 30 images.  When I gathered my favorite images, I ended up with this:
See something you like?  My Creative Cubby Vision Board is now public.  Pop on over to pin to your own!

Obviously, I like the ocean.

At this point, you can stop to review your own vision board and start pulling out color themes.  For instance, I'm clearly drawn to blues and greens with pops of bold colors.  If you're using this for home decor, print out your vision board or have it digitally available as you head to the hardware store.  Use your images to compare to paint chips to piece together a color palette.

If you want to get extra fancy and have access to it, Photoshop is a great tool to pull out colors.  Using the eyedropper tool, you can actually select precise pixels of the image and Photoshop will give you the color hex color number.  This allowed me to get very specific about which colors I wanted to use for fonts in my logo and around my blog.  Though it did take a few tries...

I started with empty boxes.  I knew I wanted four colors so the black was just a placeholder.

Using the eyedropper, I started pulling out colors.  Below is the first iteration.  After letting it sit for a day, something didn't feel right.  I couldn't tell if it was the blue or the green, but something didn't mesh for me.

I took a quick poll of my close advisors {aka Mom, significant other, best friends} and we identified that it was either the blue or the green.  One of them had to change.  I put together two more combinations where I only changed one element.
Still no good.  There wasn't a balance and it didn't feel bold enough.  The colors were still reading gentle.  On a whim, I tried to find the darkest blue on vision board and work from there.  What happened was magic!  It's phenomenal what a navy blue will do!
Suddenly, the color palette spoke to me in the same way my vision board did.  I'm confident in the foundational colors but now I can pop in bold colors, like oranges, yellows and pinks, that won't feel out of place or overpower them.  Basically, I now have a color palette I can have fun with!

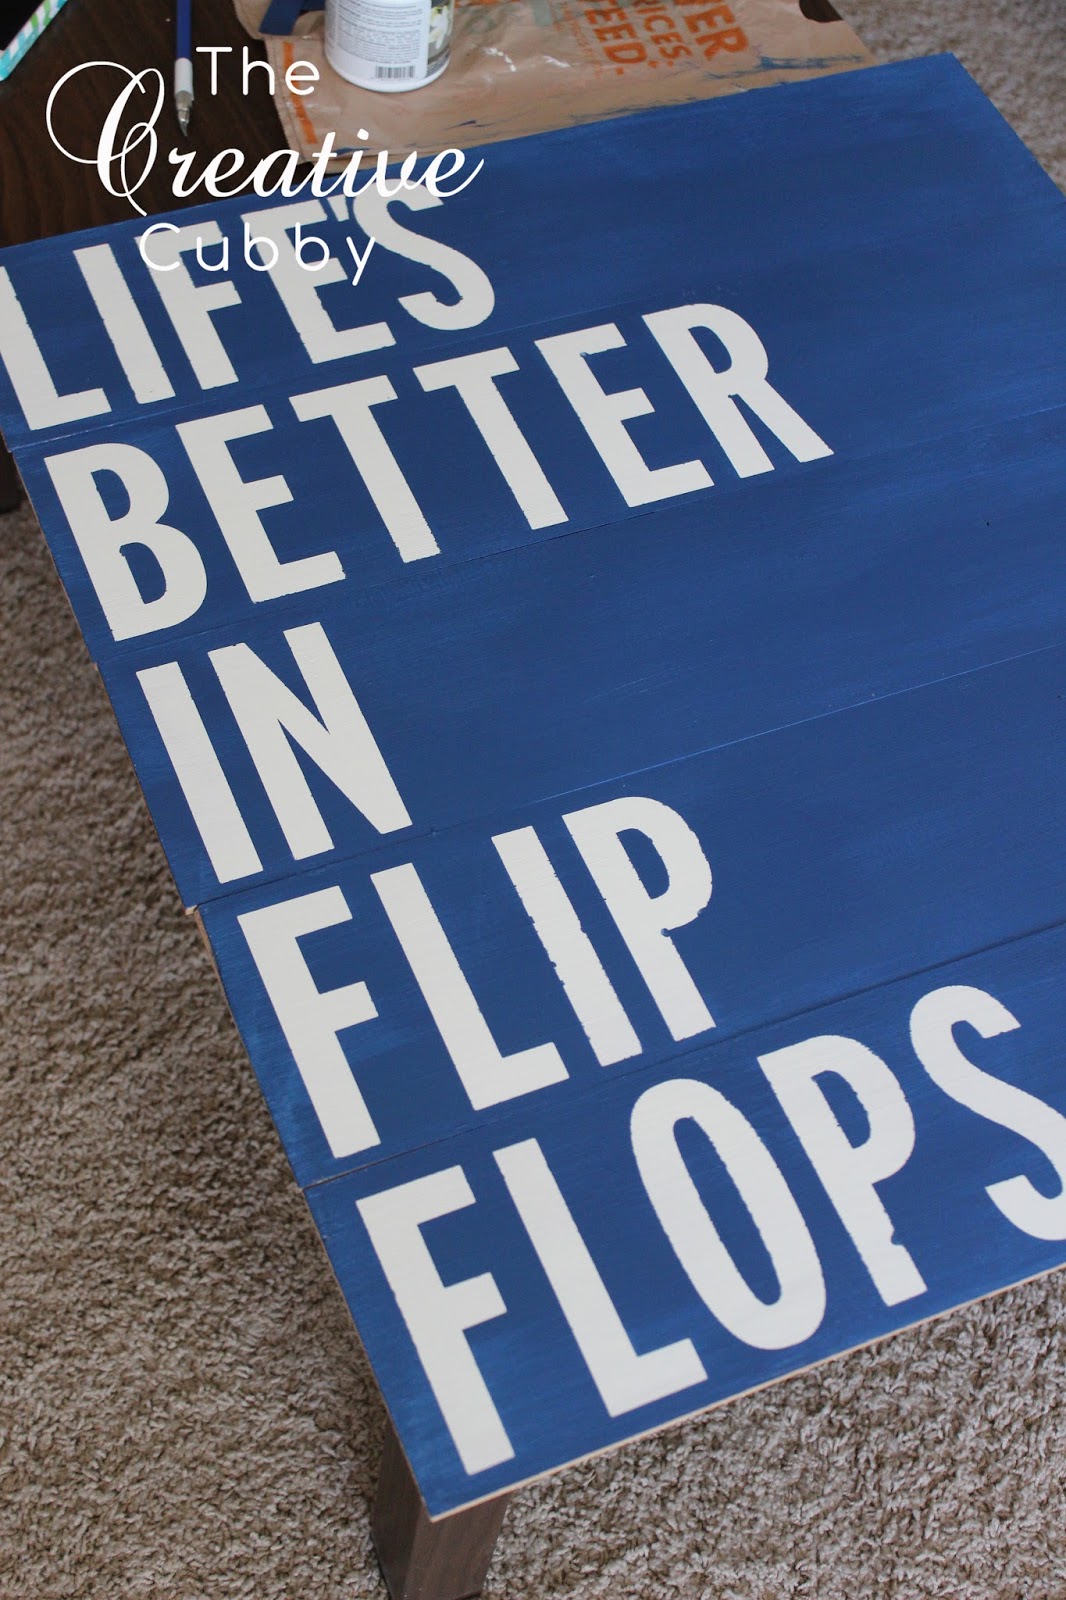
I've already put the colors into play and am loving the results!

So... What do you think of the new look?  How would you use this process in your own life?


Saturday, September 19, 2015

How Blogging Stopped Being Fun... & How I'm Getting My Groove Back


My blog posts are few and far between these days.  They have been for a little over a year now.  No one is more aware of my absence than I am.  So why?  What's up?

Truth?

There's no simple answer to this.  A combination of life's interruptions and blogger stresses put me into a tailspin.  I lost focus on what I was trying to accomplish here and made a few feeble attempts to bring the blog back home.  But something still wasn't sitting right.

I made all the mistakes a new blogger could make.  I posted a ton of original content in my first year or so.  I was all about my blog.  This was easy to do since my day job wasn't very taxing and I was in a personal environment that begged for DIY and craft projects.  Then I added the shop idea - cranking out card sets left and right.  In my first few months of business, I got a custom order, I was featured in the Arizona Republic, and my projects were shared by Hobby Lobby, Michaels and Jo-Ann... I was on Cloud Nine.

Then the burnout set in.  I was spending every weekend, all weekend, doing projects and getting them put up on the blog as fast as I could - sometimes posting 5-7 times a week.  I was creating projects that I never would have done were it not for the blog - therefore, not honoring my personal taste and style.  I was doing all the things bloggers were supposed to do for the sake of generating pageviews, ad clicks and shares.  I was exhausted and even worse... uninspired.
Ironic, isn't it?

Then life started to change.  I didn't adapt my techniques to my new environments.  Instead I tried to power through with the old mindset.  And my blog lost momentum.  I tried to reignite, leveling up my tools by buying a new camera, Photoshop, a new computer, and a new layout for my site.  However, I only did half of the work.  What's the value of a fancy DSLR camera and Photoshop if you don't really know how to use it?

To be fair to myself, I have skills to get me by.  I never shoot my camera on "Auto" and using YouTube, I can find my way around Photoshop.  But as I continued down my path of new blogger mistakes, through comparison with other bloggers, I found myself lacking.  It wasn't enough and while I wanted to get better, I didn't have the personal drive to take on the monumental task of learning.  The first couple of stages of this journey had come so easy to me.  The thought of slowing down, taking a looking back, and working harder than ever to move forward was not only daunting but quite frankly, felt like failure.

I am Alice and this is my Rabbit Hole.
Recentering myself as a person, as a crafter and as a blogger is going to take a lot of work.  I will have to take it back to basics - what do I hope to achieve here?  What will success look like day-to-day? - at the end of the month? - at the end of the year?  What inspires me?  How do I wish to connect with readers?  How do I create a blog that speaks to me but also my readers?  What content will keep not only my readers but me engaged?

I recognize that this will be a ton of hard work but this is what I really love.  I love crafting, writing, sharing and connecting.  So... I'm getting my groove back.

I've already started my journey by indulging in a little self-help love.  I just finished reading You Are A Badass: How to Stop Doubting Your Greatness and Start Living an Awesome Life by Jen Sincero.  I had so many takeaways from this book but the most important is having faith to be myself and make my mistakes.  I highly recommend this book to those who feel like their in a slump or against a wall.  Not only has it reinspired my blogging path, but also sparked my fitness and financial worlds as well.

Currently, I'm knee deep in the wildly successful How to Win Friends and Influence People by Dale Carnegie.  While not a book about crafting or blogging or self-confidence, I find that people skills are an integral part of connecting with people on- and off-line.

Teed up I'll be reading Leave Your Mark: Land Your Dream Job. Kill It in Your Career. Rock Social Media by Aliza Licht.  Because who doesn't need a little social media help.
On top of being a bookworm, I've made an investment via A Beautiful Mess in some courses.  I'll be slowly and thoughtfully making my way through the following courses:
Normally, I would skim these type of courses, but I'm buckling down this time and really engaging.  I'm on the path for improvement and I'm not taking short-cuts.  You can tell I'm taking it seriously - just look at those study materials!
There is a lot of homework for these courses, which I will very happily share the output.  I would love feedback on ideas, aesthetics, etc.  Tips are always encouraged too!

Here we go!  Wish me luck!

Wednesday, September 16, 2015

Life is Better in Flip Flops Sign


I've been envying this sign online for years.  Growing up on Arizona and California, I could not think of a more true statement than life is better in flip flops.  Thankfully, this was a quick and easy afternoon project that took minimal effort.

I used my Cricut for the letters.  Don't have a Cricut?  No problem!  I'll give you a tip on how to get around that!

Materials
Wood Planks
Staple Gun
Paint Brushes - Large for coating and Small for touch-ups
Paint - 2 shades
Cricut Materials OR Letter Stickers
Sandpaper - 60 or less grit {optional}
Xacto Knife
Hanging Hooks

Let's get started!

1. Assemble your planks.  I got my planks at Home Depot in the precut bin {typically in the molding aisle}.  These were 2.5' long x 5.5" wide, plus two thin backing pieces.  Most precut pieces do not need to be sanded, but if yours do, sand with sandpaper 80+ grit.
2.  Lay out your design and staple.  Be sure to check that all edges are straight.  If it makes you nervous to staple without support, masking or painters tape provides great stability while stapling.  Just run one piece the length of your design.
Staple through the backing pieces to the front side.  If you miss fire or have a not-so-pretty staple, don't worry!  Either pull out the staple or restaple.  You'll see in the picture below, some areas took a few shots for me.  Also, if your staple doesn't go all the way in, use a hammer to gently knock it into place.
3.  Now that we have one big sign, it's time to paint!  I chose to do white lettering with a blue foreground.  That being said, I'm painting the entire background the lighter color.
4.  While the base paint is drying, let's prep our letters.  You can do this one of two ways.  You can either use vinyl with a Cricut machine to cut out your letters.  I used Street Sign font and cut them at 4.75.
OR
You can pay a visit to a hardware store to get large sticker letters.  Most stores carry them for street signs or registration letters/numbers on personal recreation vehicles.  I've seen large letters at Michaels occasionally as well.  You don't have to have a Cricut to complete this project!
5.  Apply your letters to the sign.  Take the extra time to ensure they are straight and positioned to your liking.
6.  Apply that top coat.  Remember, thin, even coats will do the trick.  Apply a second coat if you see fit.  I wanted a more distressed look, so I only did one.
7.  Remove your letters.  I needed the assistance of an Xacto knife for this part.  You may not if you have some good nails.  Do what feels right to you!
8.  Time for touch-ups!  As you can see, I had some paint seep through, and that's okay!  Using a small paint brush, I did touch-ups with my base paint.
B-E-A-UUUTIFUL!
9.  Optional: Time to distress.  Rub the sign with 60 or less grit sandpaper until scuffed up to your liking.
10.  Add hanging hooks.  Feel free to use the hooks of your choosing and follow the directions on the package.  Your sign shouldn't be too heavy so don't go overboard.

Hang and relax!


Blogging tips